The check valve: a one-way trip for wastewater
It’s raining cats and dogs. Your roof and the exterior of your home are well sealed. But what about your basement? Are you protected against sewer backup?
If your home has a functional backflow prevention system, the answer is yes. A check valve installed on your main sewer line or drainage system connections prevents wastewater from the municipal sewer line from flowing back into your basement through fixtures or floor drains during heavy rain.
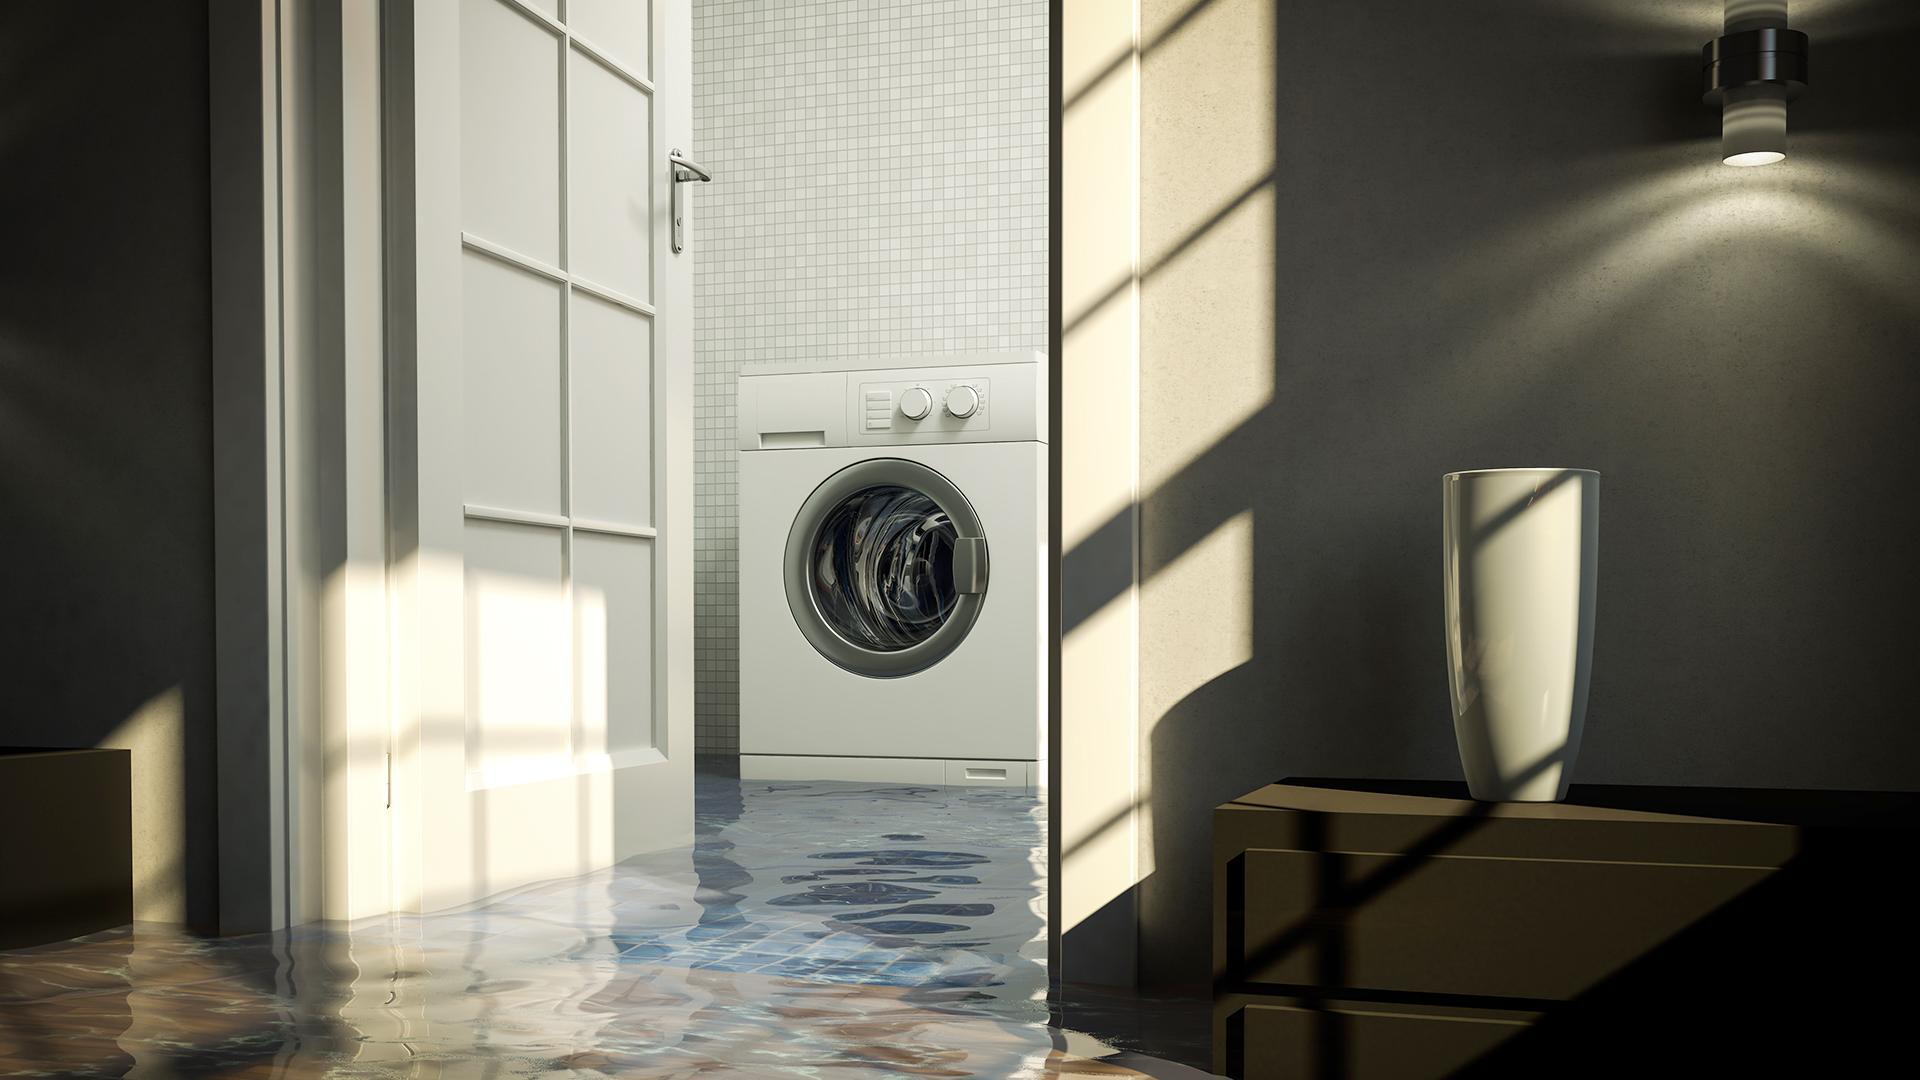
Without a check valve,flooding can cause all sorts of costly damage. Insulation and wall coverings may need to be replaced and walls or floors may need to be stripped to the studs or demolished, not to mention soiled belongings.

Best case scenario: The municipality or your insurance company foots the bill. But you still have to endure all the inconveniences of renovation work. (Source: CMHC illustration)
Municipalities not responsible for sewer backups
It has been possible for municipalities to avoid any liability for damage to buildings or their contents caused by sewer backups. How? By passing bylaws that make check valves mandatory. Building owners are given a minimum of one year to make their buildings compliant. Some insurance companies require the installation of a compliant anti-backflow system before renewing home insurance policies.
If you own or rent a ground-floor unit or have a locker in the basement of your building, you should add the “Groundwater and sewer water damage” endorsement to your insurance policy. But be aware that your insurance company may refuse to add it if your building is in an area where the municipal infrastructure is known to be deficient.
Check valves types
The most common type of check valve is a “normally closed” valve. Some are designed to protect only one appliance, such as a washing machine, while others can protect a number of plumbing fixtures connected to the same drainage line, e.g., in a basement. Normally closed valves are equipped with a flap gate that rises to allow wastewater to flow out of the house. The flap then closes to prevent wastewater from flowing back into the house.
Installation of a check valve on your home’s main sewer line is prohibited because it would stop the air circulation needed to vent the plumbing system. “Normally open” valves, which only close in the event of backflow, can be installed in some houses.
Electronically controlled “inflatable” check valves are also available. They are installed in the main sewer line where a balloon inflates, blocking the main line as soon as backflow is detected. The balloon deflates when backflow recedes. These devices are maintenance free.
Just bought a house and don’t know what type of check valve is installed or if you even have one? CAA-Quebec Residential Advisory Services can help.
Check valve installation and maintenance
Check valves must be installed in an accessible location. An access door or removable panel must be installed when they are located inside a wall or ceiling or under a floor. The best way to ensure your check valve is properly installed and compliant is to have a qualified plumbing contractor do the work.
Maintenance should be carried out at least once per year (ideally in early summer) to make sure no debris is obstructing the valve. For obvious health reasons (this is wastewater we’re talking about), remember to wear gloves if you perform maintenance yourself!
How to clean a horizontal valve
If you have a cast-iron check valve with a bolt-on cover, you’re better off hiring a plumber. Otherwise, follow these steps to make sure your valve is functioning properly:
- Removed the screw-on or bolt-on cover or access cap.
- Remove the flap gate, clean it, and check the condition of the rubber seal. Replace the flap gate if necessary.
- Clean the hinge. It must be free of debris in order for the valve to open and close properly.
- Reseat the gate in the proper direction, making sure nothing obstructs its movement.
- Firmly screw or bolt the access cap and replace the access cover, if necessary.

Benefit from personalized advice
Do you have questions about your home, need specific information, or are you looking for referrals to find an Approved Supplier?